Plate rolling machines are essential in metal fabrication, used to bend flat metal sheets into cylindrical or curved shapes. Among the most common types are 3-roll and 4-roll plate rolling machines.
While both machines perform similar functions, they differ significantly in structure, working method, precision, and efficiency. Understanding these differences helps manufacturers select the right machine for their production needs.
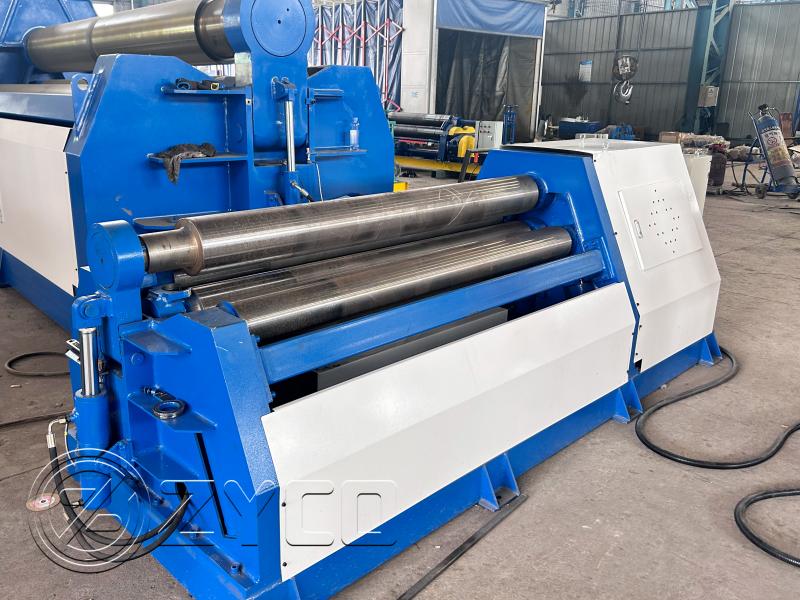
What Is a 3-Roll Plate Rolling Machine?
A 3-roll plate rolling machine uses three rollers to bend metal plates. It typically comes in two main types:
Types of 3-Roll Machines
- Symmetrical (Initial Pinch Type)
- Asymmetrical (Double Pinch Type)
How It Works

- The plate is fed between the rollers
- The rolls rotate to move the plate
- The top or side rolls apply pressure to create curvature
Key Characteristics
- Requires manual alignment
- Pre-bending often needs multiple passes
- Operator skill heavily affects results
3-roll machines are widely used due to their simple structure and lower cost.
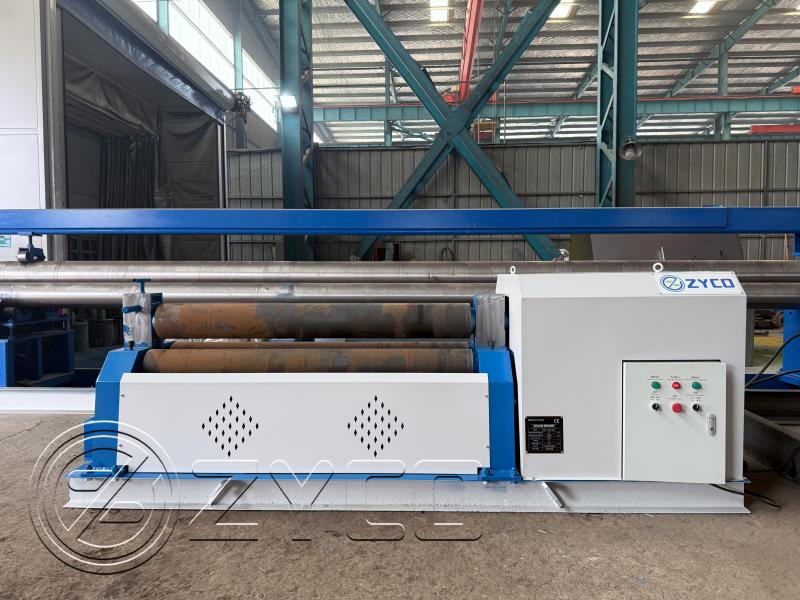
What Is a 4-Roll Plate Rolling Machine?
A 4-roll plate rolling machine adds an extra roller, enabling more advanced functionality and automation.
Structure
- Top roll (main drive)
- Bottom roll (pinch and feed)
- Two side rolls (bending control)
How It Works

- The plate is clamped between top and bottom rolls
- Side rolls move to perform pre-bending
- Continuous rolling forms the desired shape
Key Characteristics
- Automatic plate clamping
- One-pass pre-bending
- Higher precision and repeatability
4-roll machines are ideal for high-efficiency and high-accuracy production environments.
Key Differences Between 3-Roll and 4-Roll Plate Rolling Machines
- Structure and Design
| Feature |
3-Roll Machine |
4-Roll Machine |
| Number of rolls |
3 |
4 |
| Plate clamping |
Limited |
Strong (top + bottom roll) |
| Pre-bending |
Limited |
Yes (both ends) |
| Accuracy |
Moderate |
High |
| Automation |
Lower |
High (CNC) |
| Operation |
More manual |
Easy |
| Efficiency |
Medium |
High |
The additional roll in a 4-roll machine allows for better control and stability during rolling.
2. Pre-Bending Capability
Requires repositioning and multiple operations
Can pre-bend both ends in one setup
This is one of the biggest advantages of 4-roll machines, reducing flat edges and improving efficiency.
3. Rolling Accuracy
- 3-Roll: Moderate accuracy, depends on operator skill
- 4-Roll: High precision with consistent results
4-roll machines provide better roundness and dimensional control, especially for thick plates.
4. Operation and Ease of Use
oMore manual adjustments
oHigher skill requirement
- 4-Roll Machine:
- Easier to operate
- CNC automation available
- Less operator dependency
Modern CNC 4-roll machines significantly reduce training time.
5. Production Efficiency
- 3-Roll: Slower, requires multiple passes
- 4-Roll: Faster, single-cycle processing
For large-scale production, 4-roll machines offer higher throughput and reduced labor costs.
6. Cost and Investment
Lower initial cost
Suitable for small workshops
Higher investment
Better long-term ROI
Companies focused on automation and productivity often choose 4-roll machines despite the higher upfront cost.
Advantages of 3-Roll Plate Rolling Machines
3-roll machines are still widely used due to:
- Lower purchase cost
- Simple structure and maintenance
- Suitable for light to medium workloads
- Ideal for small-scale fabrication shops
Advantages of 4-Roll Plate Rolling Machines
4-roll machines provide advanced benefits:
- One-time plate positioning
- High-precision rolling
- Reduced material waste
- Faster production cycles
- Easy integration with CNC systems
They are the preferred choice for industrial-scale manufacturing and high-precision applications.
Applications: Which Machine Should You Choose?
Choose a 3-Roll Machine If:
You have a limited budget
- Production volume is low
- Products do not require high precision
- Skilled operators are available
- Choose a 4-Roll Machine If:
You need high accuracy and consistency
- Production efficiency is critical
- You process thick or large plates
- You want automation and CNC control
Industry Applications
Both machines are widely used in:
- Steel structure fabrication
- Pressure vessel manufacturing
- Shipbuilding
- Oil & gas industry
- Wind tower production
However, 4-roll machines are increasingly preferred in industries that demand high precision and automation.
Why Modern Manufacturers Prefer 4-Roll Machines
With the advancement of CNC technology, 4-roll plate rolling machines have become the industry standard for many manufacturers.
Key reasons include:
- Reduced labor dependency
- Improved product quality
- Faster production cycles
- Better repeatability for batch production
Manufacturers like ZYCO provide advanced 4-roll plate rolling solutions designed for precision, durability, and ease of operation, helping businesses stay competitive in the global market.
Conclusion
The main difference between 3-roll and 4-roll plate rolling machines lies in their design, efficiency, and precision.
- 3-roll machines are cost-effective and simple, suitable for basic applications
- 4-roll machines are highly efficient and precise, ideal for modern industrial production
Choosing the right machine depends on your production scale, accuracy requirements, and budget.
For businesses aiming to improve productivity and product quality, investing in a modern 4-roll plate rolling machine is a strategic decision that delivers long-term value.