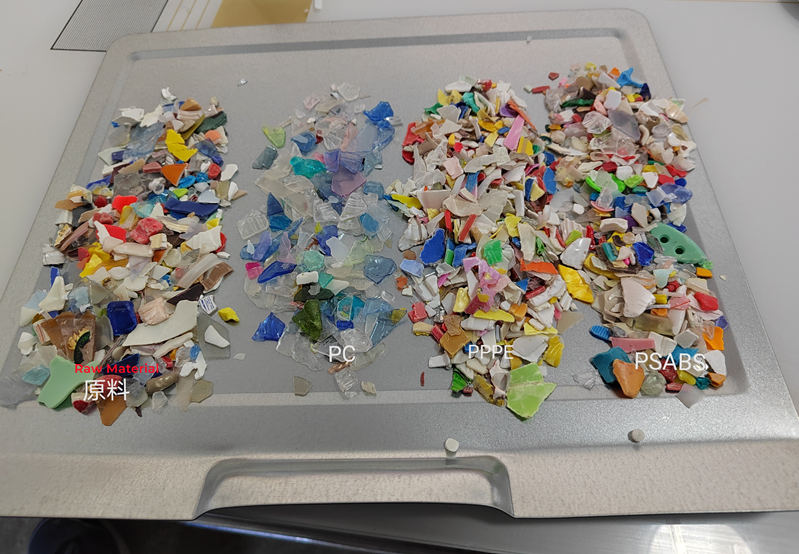
As global material testing standards shape industrial quality control, understanding the nuances between ISO 527 and ASTM D638 is critical for manufacturers. At Suzhou TOPHUNG, we’ve engineered testing solutions compliant with both standards since 2007. Here’s a technical breakdown and why it matters for your operations.
Scope & Application:
|
ISO 527:
|
Primarily governs rigid and semi-rigid plastics testing, widely adopted in Europe and Asia. Key industries: Automotive (e.g., dashboards), aerospace composites. |
|
ASTM D638:
|
Focuses on plastic materials including films/flexible sheets, dominant in North America. Key industries: Medical packaging, consumer electronics casings. |
4 Critical Technical Differences
Specimen Geometry:
ISO 527: Requires Type 1A (170mm length) or 1B (80mm) dumbbell specimens.
ASTM D638: Uses Type I (165mm) or Type V (25mm mini-samples) for thin materials.
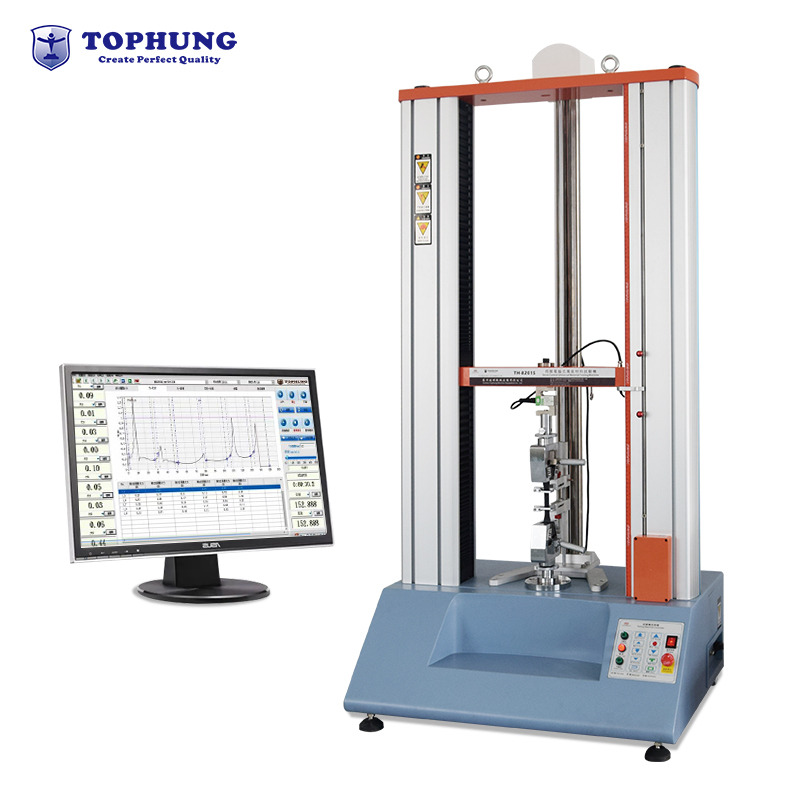
TOPHUNG’s Solution: Our fixtures can meet the test requirements of both samples.
Testing Speed:
ISO 527: 1 mm/min (modulus measurement) then 5-50 mm/min until break.
ASTM D638: Fixed 5 mm/min for modulus; 50-500% strain rate flexibility.
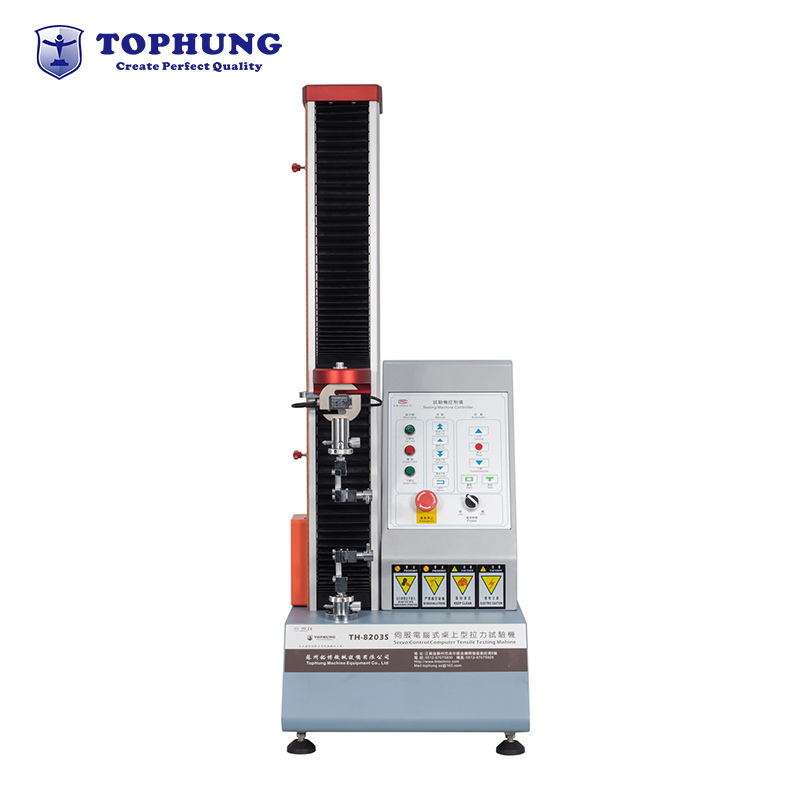
TOPHUNG Advantage: Servo motors enable 0.001-500 mm/min speed switching in 0.1s.
Strain Measurement:
ISO 527: Mandates extensometers for modulus calculation.
ASTM D638: Allows crosshead displacement if material strain <5%.
Our extensometer achieves ±0.1µm resolution, compatible with both methods.
Data Reporting:
ISO 527: Focuses on tensile modulus, yield stress, and break elongation.
ASTM D638: Additional reporting of Poisson’s ratio and secant modulus.
TOPHUNG’s T-Test software generates multiple parameters per both standards.
Why Compliance Matters
A 2023 study showed that some export rejections stemmed from poor selection of criteria standard selection. TOPHUNG’s dual-standard systems help clients:
- Test same material under ISO/ASTM simultaneously
- Switch between standards via pre-loaded software profiles
- Pass EU CE certification audits
Case Study: Automotive Supplier
A Zhejiang-based producer reduced testing time by 40% using our TH-3000 series:
Automated jigs for ISO 1B and ASTM IV specimens
AI-driven result mapping between standards
Reduce most reinspection costs annually
With 37 patented technologies and 30,000+ systems deployed globally, TOPHUNG empowers manufacturers to master international standards effortlessly.